I am posting a little earlier than usual this Thursday, because my bottle of Pomegranate Juice and I are going to a friend’s Wine Tasting Party. (I don’t like wine. But I do like the free bread, fruit, and cheese that will be served.) So, yes, I cheated and did the recipe a day early.
Today on Thursday’s Culinary Adventure:
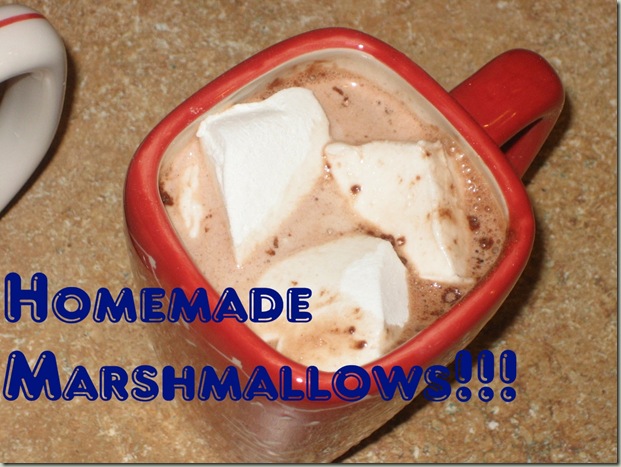
Hooray! Haven’t you always wanted to find a harder way to make something that you can buy delicious and cheap, like marshmallows??!! No? Oh, well I have, and I hear that they are really good. So many possibilities for the holidays too…but I digress.
I used the recipe for Vanilla Marshmallows that I found linked from One More Moore’s Blog. I am not sure who wrote it, but it seemed like a pretty standard one.
You will need
4 envelopes unflavored gelatin,
Karo Syrup (corn syrup)
Vanilla
A candy thermometer (my first time using one!!)
Plenty of Powdered sugar
Regular white sugar
Parchment paper
Non stick spray
Your counter should look something like this:
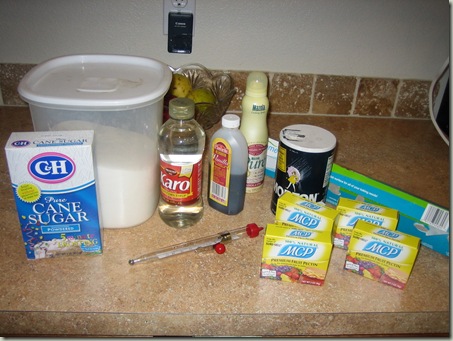
Did you spot it? Something in this picture doesn’t belong.
That’s right, for some odd, odd reason, I bought 4 envelopes of PECTIN instead of GELATIN. Why? Why? Why?
So, I had to make a quick trip to the store before I could begin. This is what you should have.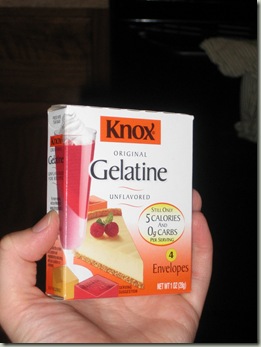
Not pectin. Sigh.
Spray a 9x13 pan and a loaf pan with nonstick cooking spray. Line with parchment paper, and then spray again. You DO NOT want these suckers to stick.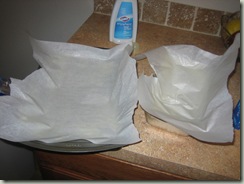
If you have a stand mixer, get out the mixing bowl and fit your mixer with the whisk attachment. I highly recommend having a stand mixer for the recipe. If you DO have a stand mixer, and never use it, I HIGHLY recommend that you give it to me. I will give you my address.
If you do not have a stand mixer, get out your little hand held one and an ordinary mixing bowl.
In the bowl, put 3/4 cup water and 1 Tb. vanilla extract.
Sprinkle the gelatin (not pectin) on top and let it sit so that it can “bloom.” 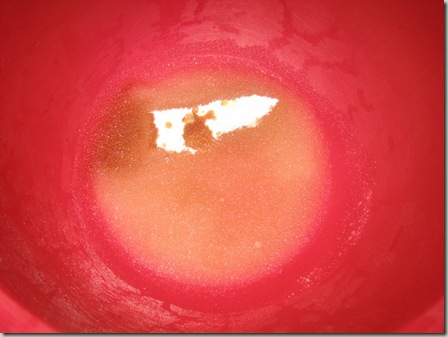
Apparently “bloom” means to soften when you are talking about gelatin. I think that, if you are going to call it “blooming,” it should look more like this.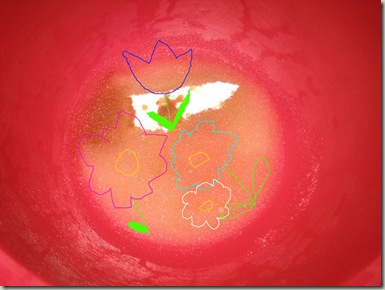
In a saucepan, add 1/2 tsp. salt, 3 cups sugar (ahh!), 1 1/4 cup Corn syrup (yikes!), and 3/4 cup water (okay.) Stir it on up and then cover it and bring it to a boil WITHOUT stirring. 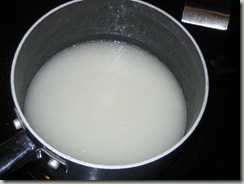 This is a very important point, apparently, so DO NOT STIR!!
It is hard to tell when it is at a boil with the lid on. 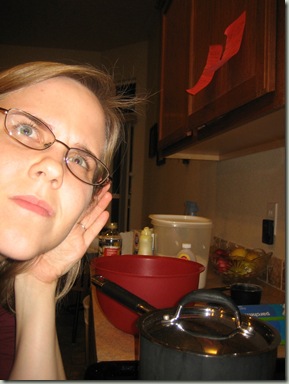 I peeked a lot.
Once it is boiling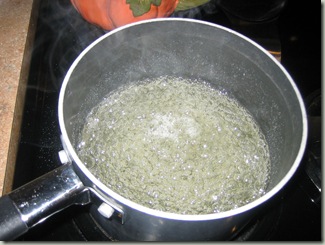 , uncover it but still RESIST THE URGE TO STIR!! Put your candy thermometer on the pan, and cook until it reaches the “soft ball” stage or 234-240 degrees F.
The “soft ball” stage does not mean that it starts to look like a soft ball, in case you are wondering. (I thought that it did…)
With the mixer on medium speed, carefully, carefully, pour the hot syrup mixture into the bowl of water/vanilla/gelatin. If you are using a stand mixer, use the splash guard because it may splatter. If you are using a hand held mixture, just hold your breath and may God help you. (Okay, it didn’t actually splatter on me at all.)
I actually poured it in, and THEN turned on the mixer, but only because I needed both hands. You should probably follow the recipe.
When all of the syrup is added, bring the mixer up to full speed!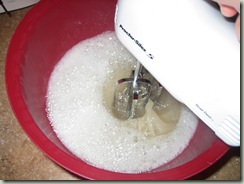
Mix until thick and firm-ish, about 8-10 minutes. I set up a book to read since I was doing this the old fashioned way. 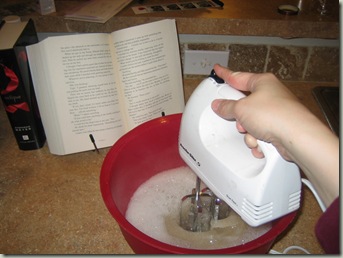 Those of you with a stand mixer can go take a hot bath or watch tv. Ahhhhhh…. see why I want one?
When it is looking thick and gooey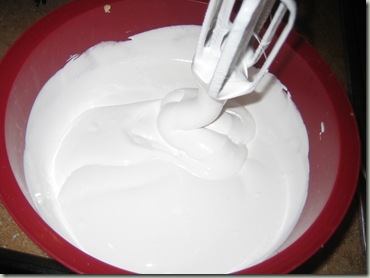
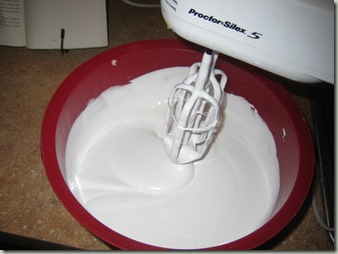 , pour into the pans, and let sit at room temperature for 8-10 hours.
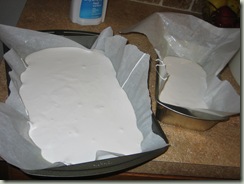
Note: DO NOT cover the marshmallows with Saran Wrap. If you do, the Saran Wrap will stick to the top of the marshmallows like cement, and you will have to throw a whole pan full of marshmallows away. Don’t ask me how I know…
Goodnight.
Good morning!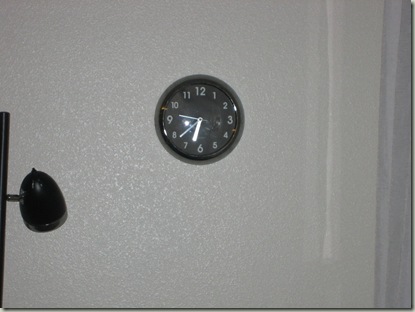 (What a short night! Believe me, it felt this short…)
And now I have an audience!
Sift some powdered sugar over top of the rested marshmallow slabs. (I don’t have a sifter so I used this shaker.)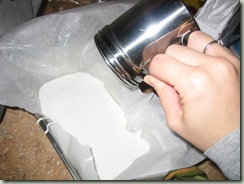
Dump onto a cutting board, peel of paper, and dust the other side as well.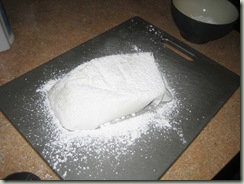
Use a pizza cutter to cut the marshmallows into desired shapes/sizes. 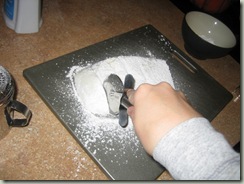 I tried to use a small leaf cookie cutter, but it just looked like a blob. So, squares it is.
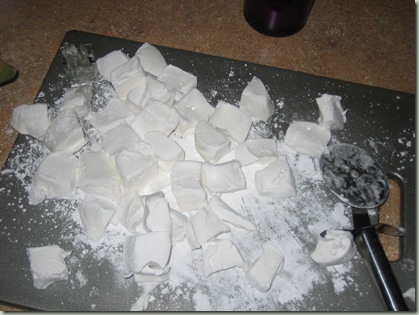
Dip the cut marshmallows in powdered sugar again, you don’t want any un-dipped cut edges!
And there you have it! As I mentioned before, I had to dump out my large pan of marshmallows, and I still got this many.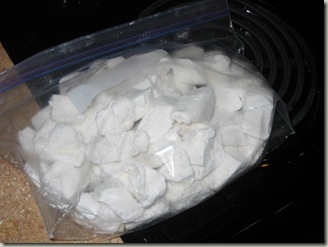
The taste testers say:
Brian: 
Caitlin:  (believe it or not, this was the LEAST cheesy and horrible picture of me out of the 5 pictures Brian took…)
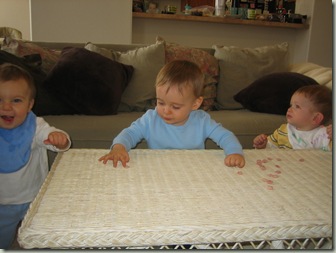
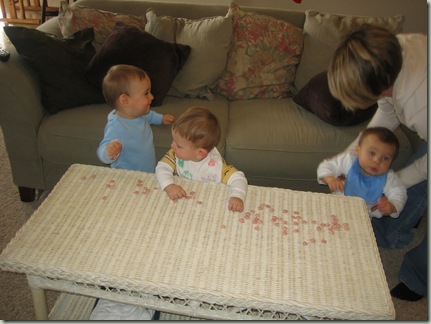
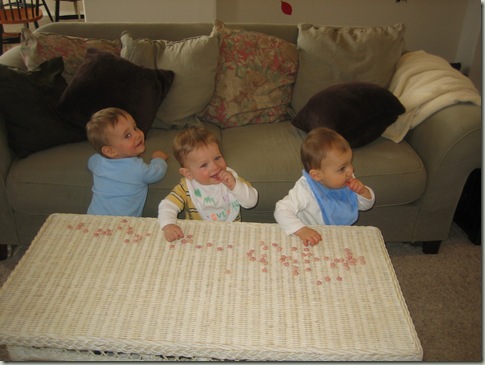
Joseph: No! No! No! This was a test. You can’t give marshmallows to babies!! They are a choking hazard!! Sheesh!
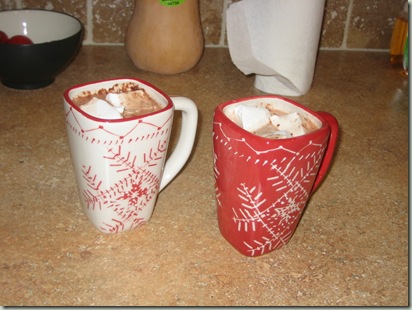
Summary: Yummy yummy yummy to my tummy tummy tummy! They are delicious! They taste like, well, marshmallows! Hooray! I actually think that they are softer and creamier than the store-bought ones. Kind of like they are a little melty-er on the inside. Brian thought that they were a richer than store bought ones too.
Wait until you see me make some holiday mint ones this Christmas!! :)
Grade: A- from me B from Brian
(but he doesn’t really like marshmallows, so I don’t think that you should trust him.)
(NEXT WEEK THURSDAY’S CULINARY ADVENTURE WILL BE CANCELLED- I WILL BE IN OREGON VISITING FAMILY! WHOOT! WHOOT!)
